Home / How It Works
Studio method
Five beats from artwork to a file the hoop can run.
You send the mark and the spec. We punch by hand, check construction, and drop the wrapper your machine actually reads.
How Amazing Punch works
-
Step 01
Upload your artwork
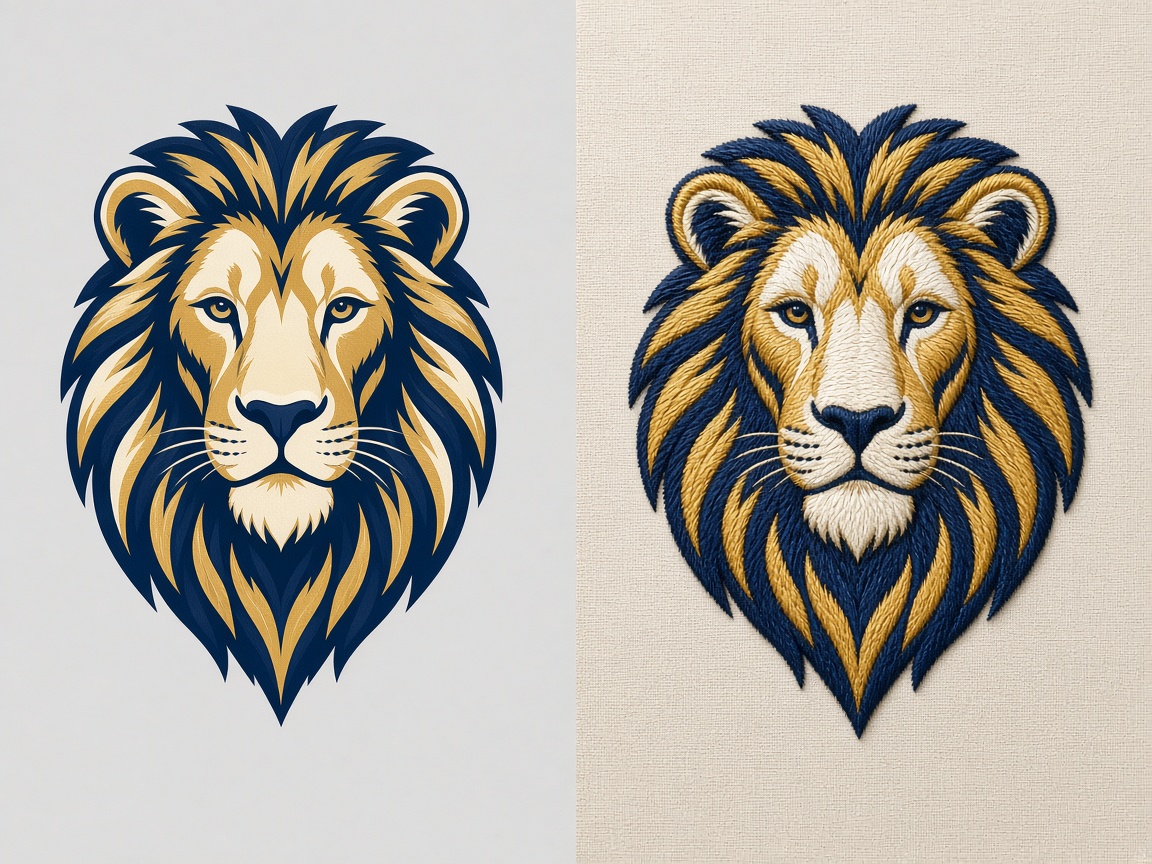
Send the best file you have — vector, PDF, PNG, JPG or even a photo of an existing sew-out. We will tell you if we need something better. The free quote form is the usual start; the artwork checklist covers what to attach.
YouSend the best artwork you have — vector, PDF, PNG, JPG, or a clear photo of an existing sew-out. Multiple files are fine.
UsWe open it and check whether it is workable at the size you want. If a better source would change the result, we say so before quoting.
No account needed, and nothing is charged at this stage.
-
Step 02
Tell us size, placement & format
Finished width and height, where it sits on the garment, the fabric or product, thread colors and the machine format you run.
YouGive the finished width and height, the placement, the garment or fabric, the machine format, and your deadline if there is one.
UsWe tell you what the artwork can and cannot do at that size, and flag anything that should be simplified or rebuilt.
This is the stop that decides most of the quality. Guessing here is what creates revision cycles later.

-
Step 03
A digitizer builds the file
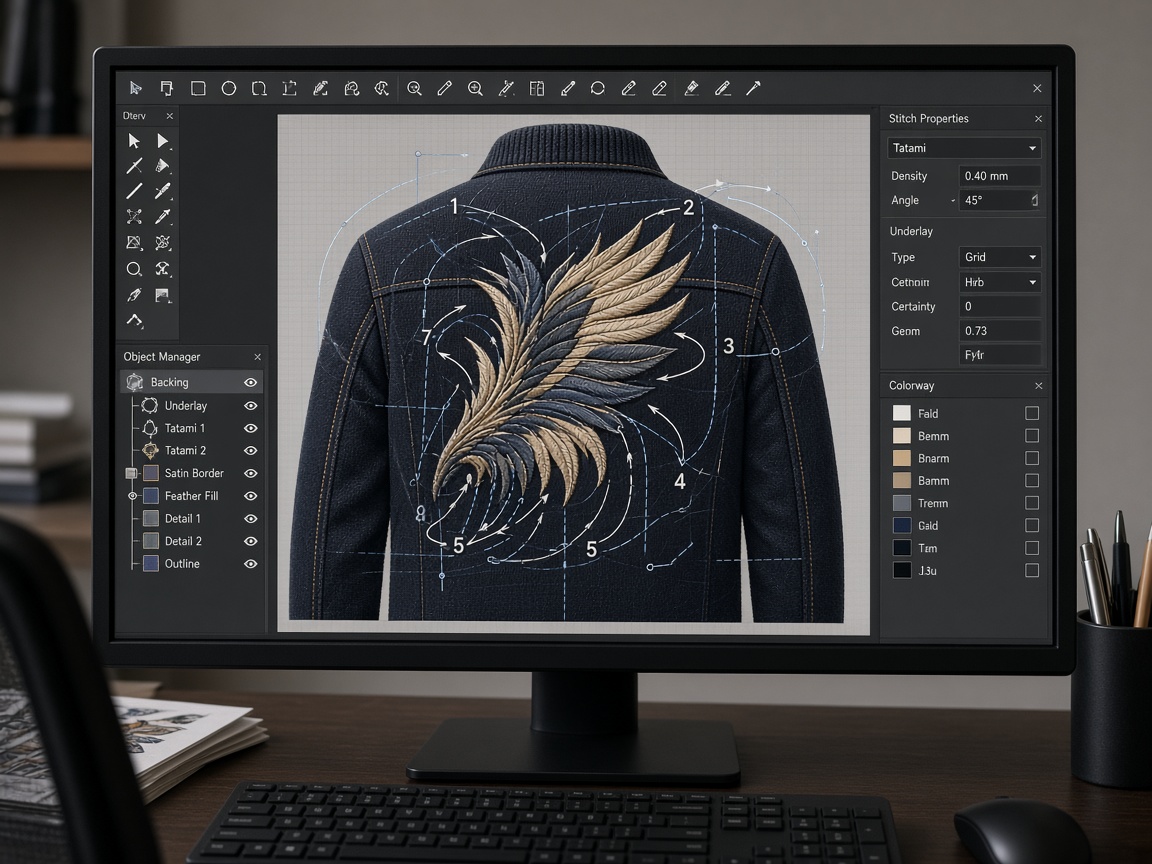
Every object is mapped by hand — stitch type, angle, underlay, density and sequence — for that specific size and material.
YouApprove the quote. Nothing is built before you have a firm price in writing.
UsA digitizer maps every object by hand — stitch type, angle, underlay, density, compensation and sequence — for that specific size and material.
This is a punch, not an auto-trace. Objects are drawn for the hoop you named.
-
Step 04
Quality check
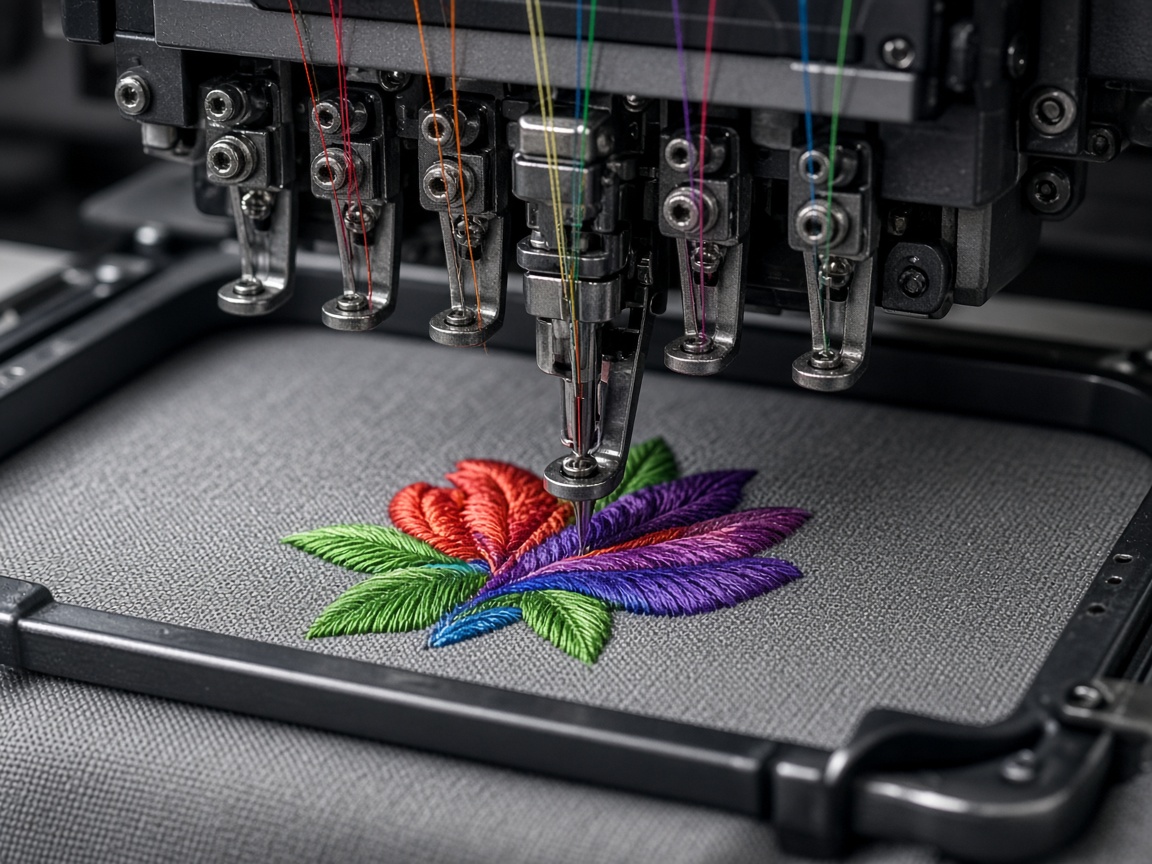
Construction, pathing, color order and stop instructions are reviewed against your specification before anything is released.
YouNothing. This one is on us.
UsConstruction, pathing, color order and stop instructions are checked against your specification before anything is released.
If a column, trim, or registration would fail on the floor, it is caught here — not after you hoop.
-
Step 05
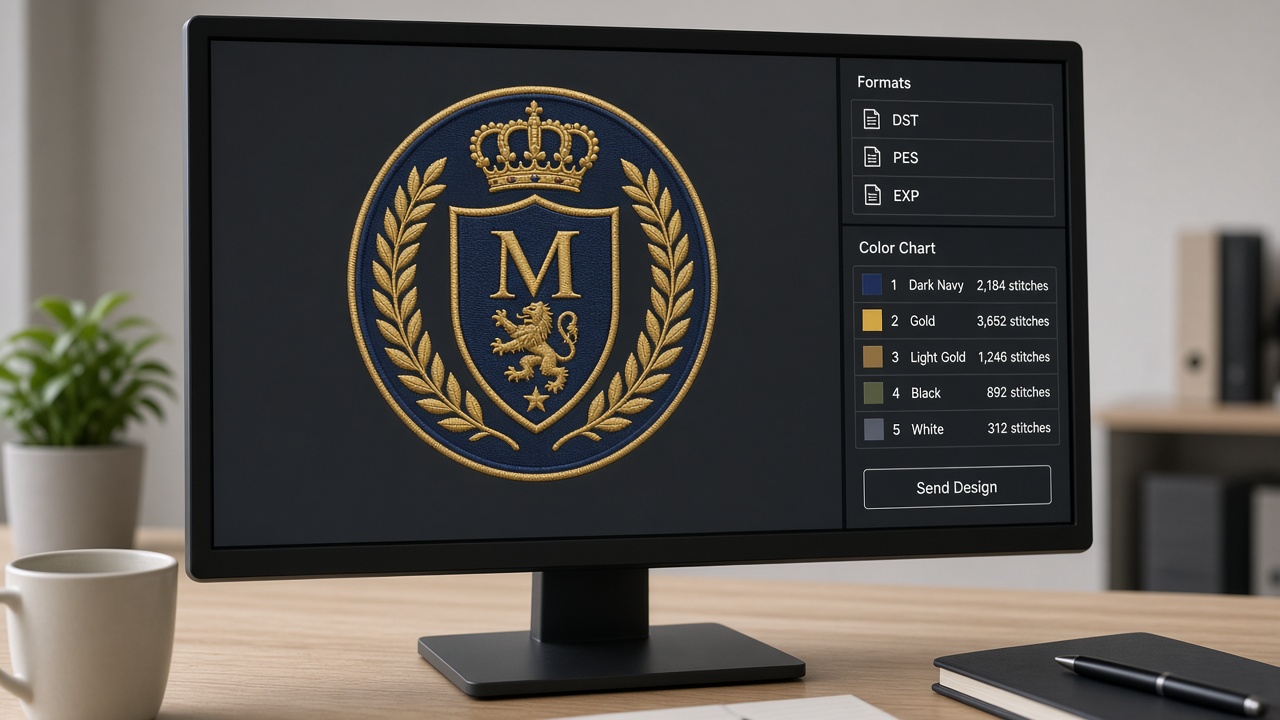
Receive your machine-ready file
The formats you named, a color chart, and hoop notes — ready to load. Complimentary edits if the first sew-out needs a studio tweak.
YouLoad the file, sew a test, and send a photo if something still looks off.
UsWe drop DST, PES, EXP or the wrappers you run, plus sequence notes the operator can follow.
The working punch stays on our desk for edits. Scaling on the machine menu is not the same as a true resize.