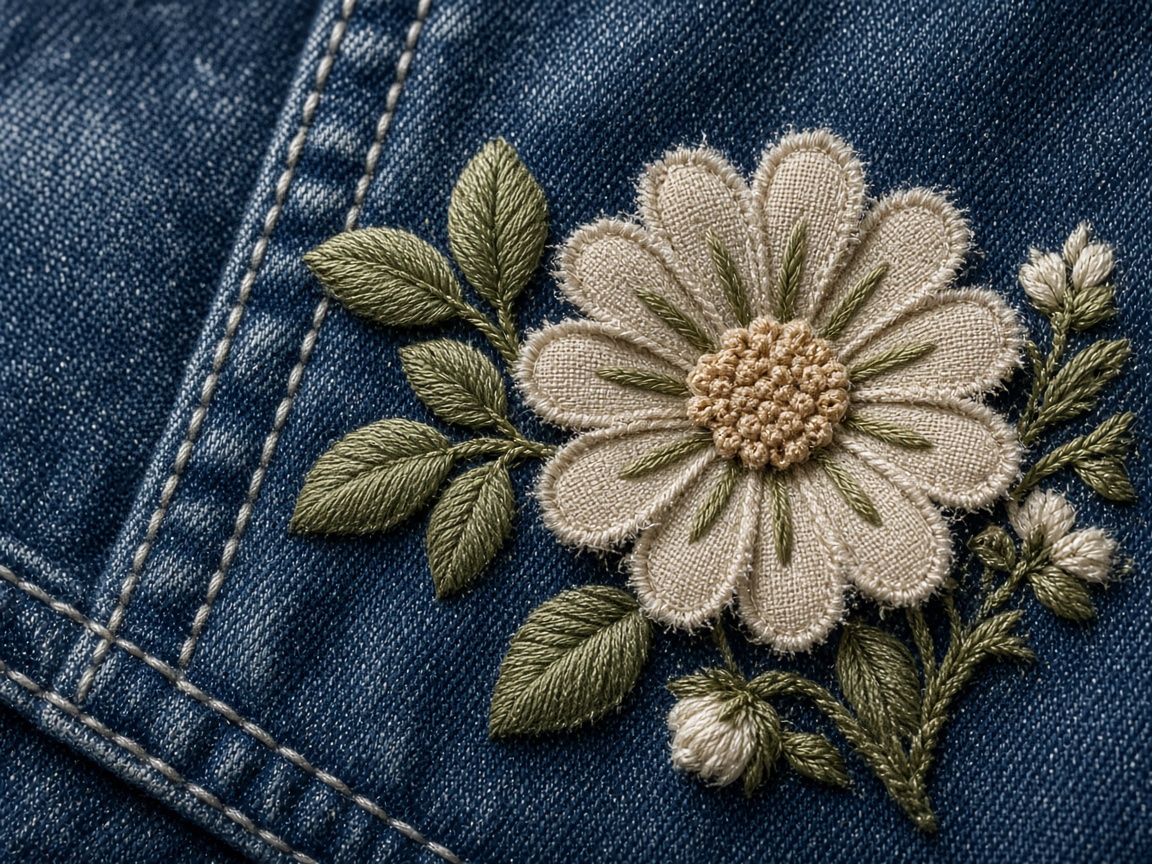
Density is stitch spacing. Too tight and the garment puckers or turns cardboard. Too loose and fabric shows through the fill.
What density actually measures
In punching software, density is how close stitches sit in a fill or how a satin column is packed. It is not “more stitches equals better quality.” Quality is coverage without strain.
Shops searching “embroidery stitch density” usually have a sew-out that either shows fabric in the gaps or puckers around the design. Both are density (and underlay) problems, often copied from the wrong garment type.
Fabric changes the map
Pique has holes; it needs underlay and a density that does not brick the knit. Fleece swallows stitches; it needs knock-down or topping notes and enough coverage to sit on the pile. Structured caps are stable but curved. Towels need knock-down. Stretch jerseys need lighter fills plus compensation.
Amazing Punch sets density per object and per ticket. A jacket-back fill is not a left-chest fill. Applique is often the cleaner answer when a large area would explode stitch count.
Do not fix density on the machine
Scaling a DST in the machine menu changes spacing in ways the punch did not plan. If a sew-out is heavy or light, send the sew-out photo back. We edit the working file. That is faster than guessing a global density change on the floor.
Related services
If this guide is for a job already in the hoop, these desks are usually the next click: