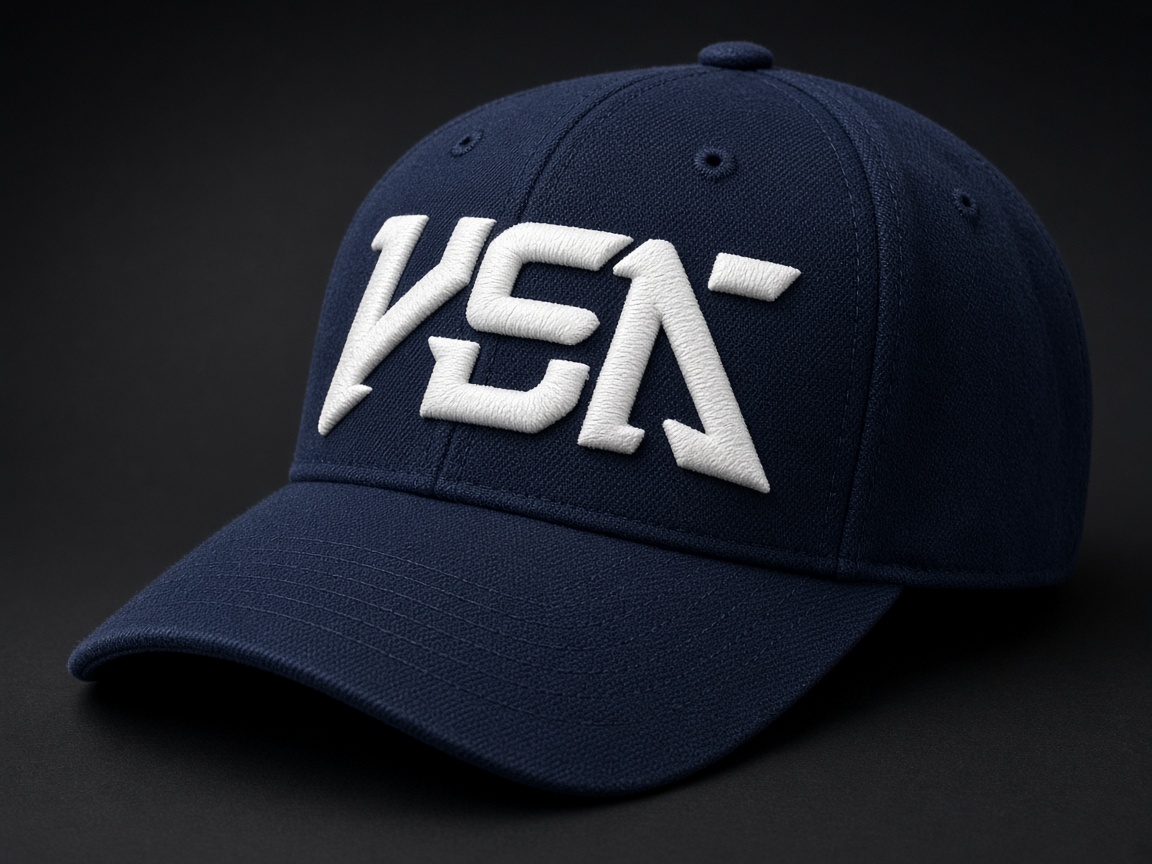
Cap fronts are curved, often seamed, and height-limited. The safe field is smaller than a flat left chest even when the artwork is identical.
Typical cap embroidery size
Most structured front panels sew comfortably around 2 to 2.25 inches tall and about 4.5 to 5.5 inches wide, depending on the blank. Low-profile and unstructured hats have less usable height. Tiny legal lines rarely survive; simplify them or drop them from the cap version.
3D puff needs even bolder shapes. Foam will not wrap thin script. If the brand wants puff, keep the main letters wide and move fine detail to flat stitches or off the cap.
Placement on the front panel
Center the mark on the front panels, not on a polo’s left-chest math. The visual center sits above the brim and accounts for the center seam. Amazing Punch sequences cap files center-out so the crown stabilizes as it sews.
Side and back marks are separate tickets with their own size limits. Do not scale a front file onto a side panel in the machine menu.
Cap file versus shirt file
A left-chest DST hooped on a cap will drift, pucker, or look undersize. Order a dedicated cap punch. If the same logo also goes on polos, send both placements on the quote — two files, one artwork.
Related services
If this guide is for a job already in the hoop, these desks are usually the next click: